Hello Folks, its Ashish Chauhan from Ash-Vir Creations, today in this post i am gonna show you how to convert lightroom preset into photoshop camera raw preset.
So in this post basically I m gonna show you how to convert your Lightroom preset file into photoshop preset file with no steps.
Preset File is Given in the Below Portion ⇩
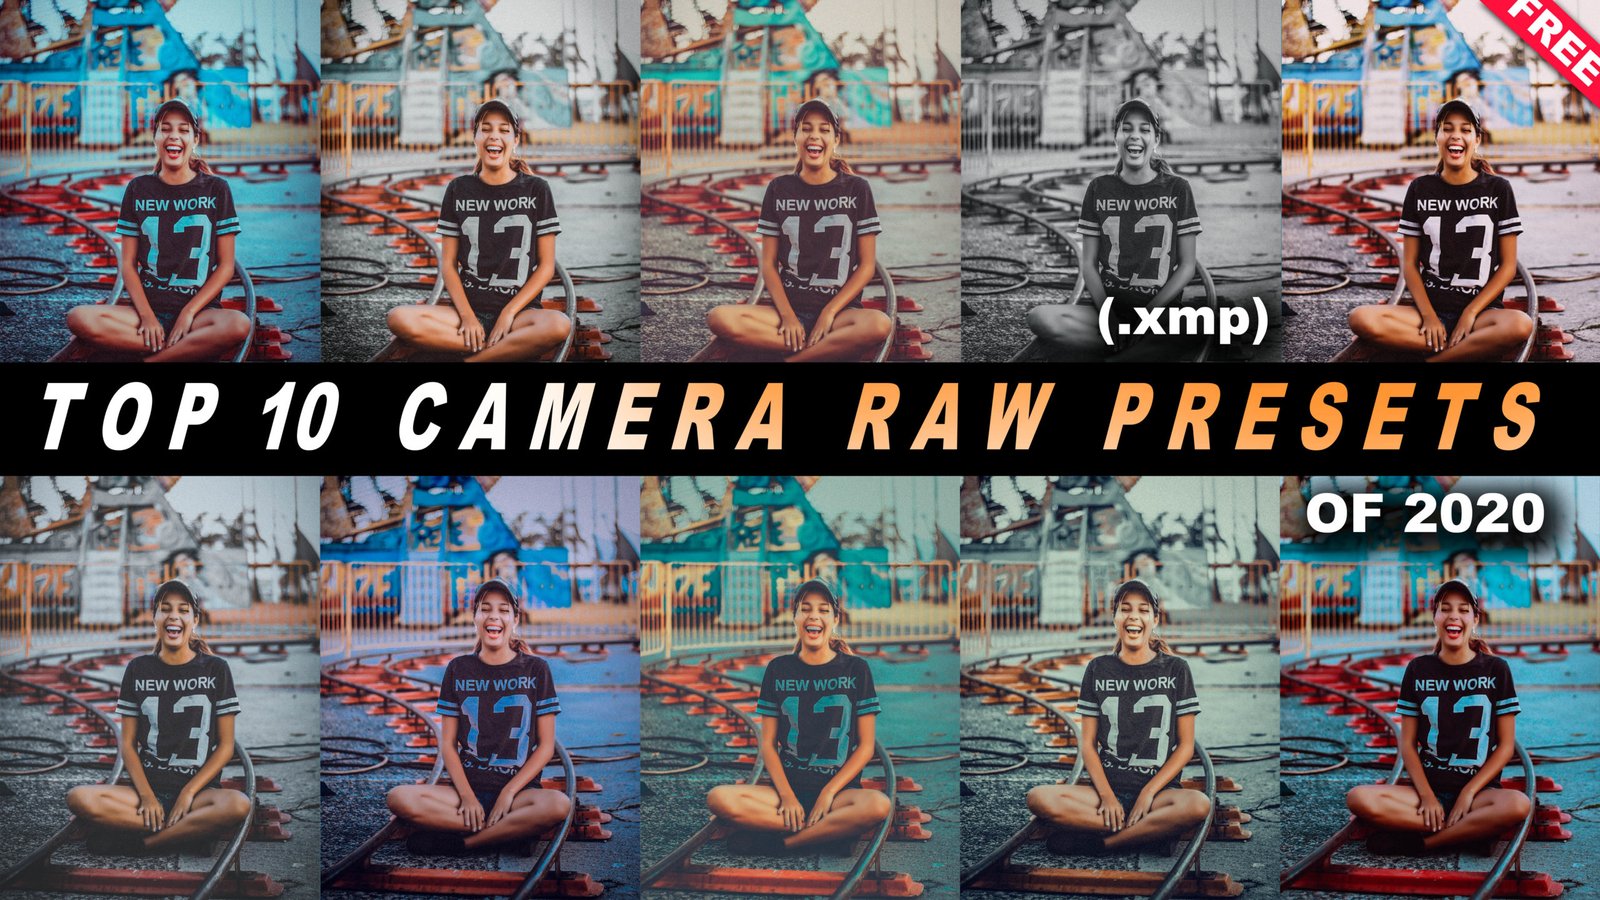
Top 10 Camera Raw Preset Pack.zip
Those who don’t use much lightroom for them if they want the lightroom preset into their photoshop preset then this post and below video would be very much helpful.
The Lightroom preset files are generally in the extension of (.lrtemplate).
And the camera raw preset file of photoshop is in the extension of (.xmp).
So basically all you have to do is open the image in Adobe Lightroom then apply the color adjustment setting or the preset file to the image, then open that photo as a smart object in photoshop and save that color settings in camera raw.
We have made a special video tutorial on this which comprises of 3 parts; first part I have explained how to apply preset in lightroom and in the second part I have explained very perfectly how to save that preset color settings in-camera raw step by step and the third part i have explained how to use this presets in your photos and stand out from the rest.
https://youtu.be/utCc7Yq_Ers
Watch our Full Video tutorial on Youtube on how to convert lr preset into ps preset and preset and don’t forget to press bell icon and subscribe our channel and do like this video and share this with all your friends in all social platforms like whatsapp, facebook, instagram etc. so that you can easily learn such converting of lr preset into ps.
How to Install Presets in Lightroom in Windows?
- Open Lightroom from your PC.
- Go to Edit Tab.
- Then Go to Preferences Tab.
- Go to Preset Tab.
- Click on Open Preset containing folder.
- Go to the Lightroom folder.
- Then go to Develop Preset folder.
- Go to the User Preset folder.
- Paste all Lightroom Presets which i have given into that folder.
- Refresh folder.
- Close Lightroom.
- Restart Lightroom.
- Go to the Preset area.
- Go to User Presets.
- There you can find all 5 Presets installed.
- Enjoy all for free.
How to Install Presets in Lightroom in Mac? Follow these simple steps for Mac User.
How to Install Camera Raw Presets in Adobe Photoshop?
=> Go to My Computer (for Windows User)
=> Click on C:/ Drive
=> Click on User
=> Go to your User Name Folder (Eg. Your computer name)
=> Show your Hidden Files & Folder Option. Check it
=> Go to AppData folder
=> Click on Roaming/Adobe/Camera Raw/Settings Folder
=> Just Paste My Top 10 Teal Orange Preset Files into this setting folder.
=> Close all & refresh it.
=> Restart your Photoshop.
=> Go to Camera Raw Filter.
=> Open Preset Tab.
=> Click on User Preset.
=> You will find all installed preset there.
=> Enjoy the preset.
How to get a preset rar file from our website for free.
We will provide you .rar file format and you have to extract that file.
You can easily extract it using Winzip or WinRar Software if you are using windows version.
Access this preset file for free in our content.
Get these Camera Raw Presets:-XMP Presets
Extract the file using WinRar Software for Windows user.
Extract the file using UnRarX application for Mac User.
We are growing every as we are uploading new video tutorials for you everyday on Youtube related to Adobe Photoshop, Adobe Lightroom, Adobe After effects, Adobe Premiere Pro, Photo Editing, Photography, Visual Art Editing, Fantasy Photo Manipulations, Photoshop Tutorials, Lightroom Tutorials and many more.
Apart from that we also providing you all new Camera Raw Presets, Lightroom Presets, Luts, Color Filters, Backgrounds, PNG images everything for free on our website. We have almost more than 1000+ Video Tutorials on our Youtube channel so you can watch and learn for free and improve your editing skills everyday from our Youtube videos.
Be Creative, Be Awesome.
Thank You For Visiting.


